Nailed It: Crafting Spooky Halloween Nail Art in 7 Easy Steps!
Hollywood Institute
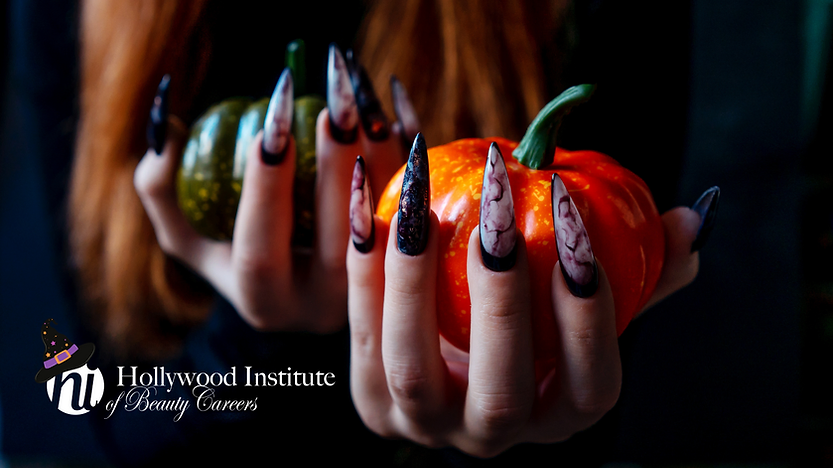
Halloween is just around the corner, and it’s the perfect time to let your creativity shine through your fingertips! Whether you’re dressing up as a spooky witch, a cute pumpkin, or a creepy creature of the night, Halloween nail art can add the perfect finishing touch to your costume.
In this step-by-step guide, we’ll take you on a journey to create captivating Halloween manicures that will leave your friends spellbound. Plus, if you’re passionate about nail art and aspire to take your skills to the next level, stick around until the end for an exclusive invitation to explore the world of Nail Technology at the Hollywood Institute of Beauty Careers, your local beauty school.
Step 1: Gather Your Supplies
Before you dive into creating your Halloween nail art, make sure you have all the necessary supplies on hand. Here’s a basic list to get you started:
-
Nail polish (various colors)
-
Nail art brushes or dotting tools
-
Nail polish remover
-
Base coat and top coat
-
Nail stickers or decals (optional)
-
Nail gems or rhinestones (optional)
-
Halloween-themed nail stamping plates (optional)
Step 2: Prep Your Nails
Start with clean, dry nails. Trim, file, and shape your nails to your desired length and shape. Apply a clear base coat to protect your nails and help the polish adhere better.
Step 3: Choose Your Halloween Theme
Decide on a Halloween theme for your nails. Are you going for a classic Jack-o’-lantern look, a spooky haunted house, or maybe something cute like bats and ghosts? Knowing your theme will help you plan your nail art.
Step 4: Create Your Base Colors
Paint your nails with the base colors that match your Halloween theme. For example, orange for pumpkins, black for bats, or deep purple for a witchy vibe. Allow the base colors to dry completely.
Step 5: Get Creative with Nail Art
Now comes the fun part – creating your Halloween nail art! Use your nail art brushes, dotting tools, or nail stamping plates to add details to your nails. For pumpkins, add a green stem and spooky faces. For bats, create wings and eyes. Let your creativity run wild!
Step 6: Add Some Sparkle (Optional)
If you want to take your Halloween nail art to the next level, consider adding some sparkle. You can use nail gems, rhinestones, or glitter to make your nails pop. Secure them with a clear top coat.
Step 7: Seal the Deal
To protect your Halloween nail art and make it last, apply a clear top coat. This will also give your nails a glossy finish. Allow everything to dry thoroughly.
Elevate Your Nail Art Skills at the Hollywood Institute of Beauty Careers
Creating Halloween nail art is a fantastic way to express your creativity and get into the spooky spirit, but why stop there? If you’re passionate about nail art and want to take your skills to a professional level, consider enrolling in the Nail Technology program at Hollywood Institute of Beauty Careers, your local beauty school.
At Hollywood Institute, you’ll receive quality hands-on training from experienced nail technicians, learn the latest techniques in nail art, and have access to a wide range of resources to help you turn your passion into a rewarding career.
Don’t miss this opportunity to take your nail art skills to the next level. Visit our website or contact us today to learn more and take the first step towards a thrilling career in nail technology!
Happy Halloween 🎃👻✨
OpenAI. (2023). ChatGPT (August 3 Version) [Large language model]. https://chat.openai.com